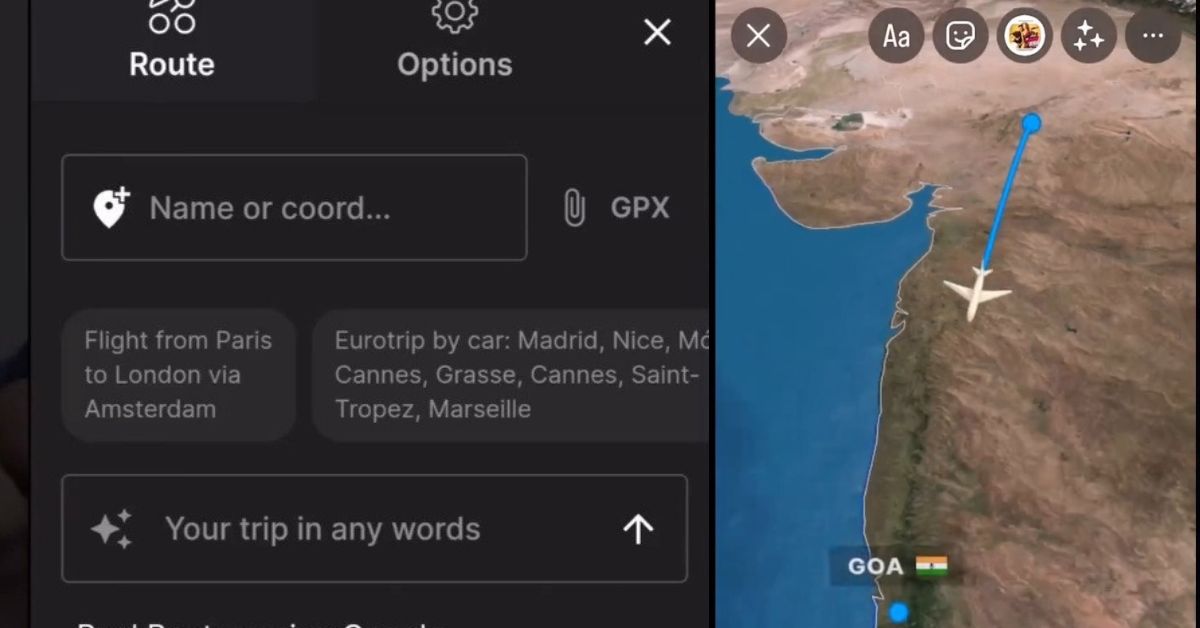
Travel map animations have become a favorite way to turn plain itineraries into eye-catching stories. Whether you want to spice up a vlog, pitch an itinerary to a client, or relive a road-trip for friends, a smooth animated line that moves from city to city does the job beautifully. The good news: you don’t need a Hollywood studio or years of motion-graphics experience. With today’s mapping services and video editors you can build a polished sequence in an afternoon. Below is a straightforward, jargon-free plan to get you there.
1. Nail Down the Story Before You Touch Any Software
A travel map animation works best when you know what you are trying to show and why. Grab a notepad and jot down:
- Route order – the exact series of stops
- Key highlights – landmarks or dramatic legs of the journey
- Screen time – how many seconds you want to spend on each leg
Having this roadmap prevents wasted time later when you are tweaking timing.
2. Choose Your Map Source
You need a clean, high-resolution base map. Three popular paths:
- Google Earth Studio
- Free for personal use.
- Built-in camera moves give you cockpit-style fly-overs.
- Mapbox Studio
- Lets you design custom colors and fonts.
- Exports stills or short video clips that slot neatly into editors.
- OpenStreetMap + QGIS
- Fully open-source.
- Great when you need offline or legal rights to redistribute everywhere.
Pick the one that feels least intimidating. For a first project Google Earth Studio’s templates are hard to beat.
3. Plot and Export the Stills (or Clips)
Even if you plan to animate the line later in After Effects or DaVinci Resolve, start with static frames:
- Mark each location in your mapping tool with a clear pin.
- Capture a top-down frame that shows the entire route for context.
- Zoom for detail shots if sections of the path are dense (e.g., winding alpine roads).
Export PNGs at the highest resolution your machine comfortably handles; the extra pixels keep labels crisp when you zoom in during editing.
4. Trace Your Path in a Vector Format
You need a line that you can animate. Two common routes:
- KML/GPX file from a GPS recorder or Google My Maps. Import the file straight into After Effects with a plugin like GEOlayers, or into DaVinci Resolve’s Fusion tab.
- Manual tracing right inside Adobe Illustrator or the free site geojson.io. Save as SVG.
Vector paths scale perfectly and let you key-frame the stroke’s end point for that “drawing itself” effect.
5. Bring Everything into Your Video Editor
Open a new 1920 × 1080 timeline (or 4 K if you captured huge map tiles). Then:
- Add the base map layer. Lock it to avoid accidental nudges.
- Place your vector path on top.
- Set stroke color and thickness so it pops against the map but doesn’t hide labels.
- Animate the line by key-framing the “End” percentage (After Effects) or “Write-On” modifier (Resolve, HitFilm, or Premiere) from 0 % to 100 %.
Duration is taste: fifteen seconds feels snappy for social media, thirty seconds lets viewers absorb longer routes.
6. Spice It Up with Camera Moves
Static maps work, but a gentle push-in or tilt makes the sequence feel alive. In After Effects, nest the map and path in a 3-D layer and add a slow Z-axis move. In Resolve’s Edit page, apply a simple “Dynamic Zoom.” The rule of thumb: move the camera slower than the path draws, so the viewer never loses their place.
7. Add Location Labels and Icons (If Needed)
Subtle text cues help viewers orient themselves. Tips:
- Use the same font family throughout for a professional look.
- Fade labels in a beat after the line reaches each city so eyes aren’t competing for attention.
- Keep icon sizes consistent. Oversized pins feel cartoony and distract from the route.
8. Finish with Sound and Lighting-Fast Export
Silence makes even the prettiest animation feel flat. Drop a gentle whoosh or pen-stroke sound each time the line extends. A soft music bed at low volume glues everything together.
When you export:
- Codec: H.264 for web sharing; ProRes or DNxHD for further editing.
- Bitrate: 10–15 Mbps is plenty for 1080p without huge file sizes.
- File name: Include the resolution and frame rate for easy version tracking (e.g., map-route-1080p-30fps.mp4).
9. Common Speed Bumps (And Quick Fixes)
| Problem | Likely Cause | Fast Solution |
|---|---|---|
| Line looks fuzzy | Low-res base map | Export bigger map tiles or scale down less in editor |
| Route overshoots city | Key-frame mismatch | Split the path layer at waypoints and re-align |
| Viewer gets lost | Camera moves too wild | Tone down zooms or add a compass overlay |
10. Test on a Small Audience
Before you blast your masterpiece to the world, show it to one or two friends. Ask:
- “Did you always know where the route went next?”
- “Was any part too slow or too rushed?”
Small tweaks after fresh feedback can turn a good animation into a great one.
Final Thoughts
Creating a travel map animation is less about advanced software tricks and more about clear storytelling. Start with a solid plan, keep the design clean, and remember that every extra effect must serve the journey. By following the steps above, you’ll craft a clip that not only looks slick but also guides your audience effortlessly across mountains, seas, and continents—one animated line at a time.
